7 Signs Your Trim Carpenter Actually Knows What They're Doing
By Nicholas Dunn · April 7, 2026 · 4 min read
TL;DR
Most homeowners can't tell the difference between good trim work and great trim work until it's already installed. Here are seven specific things to look for — before, during, and after the job.
Why you can't judge trim work from a phone photo
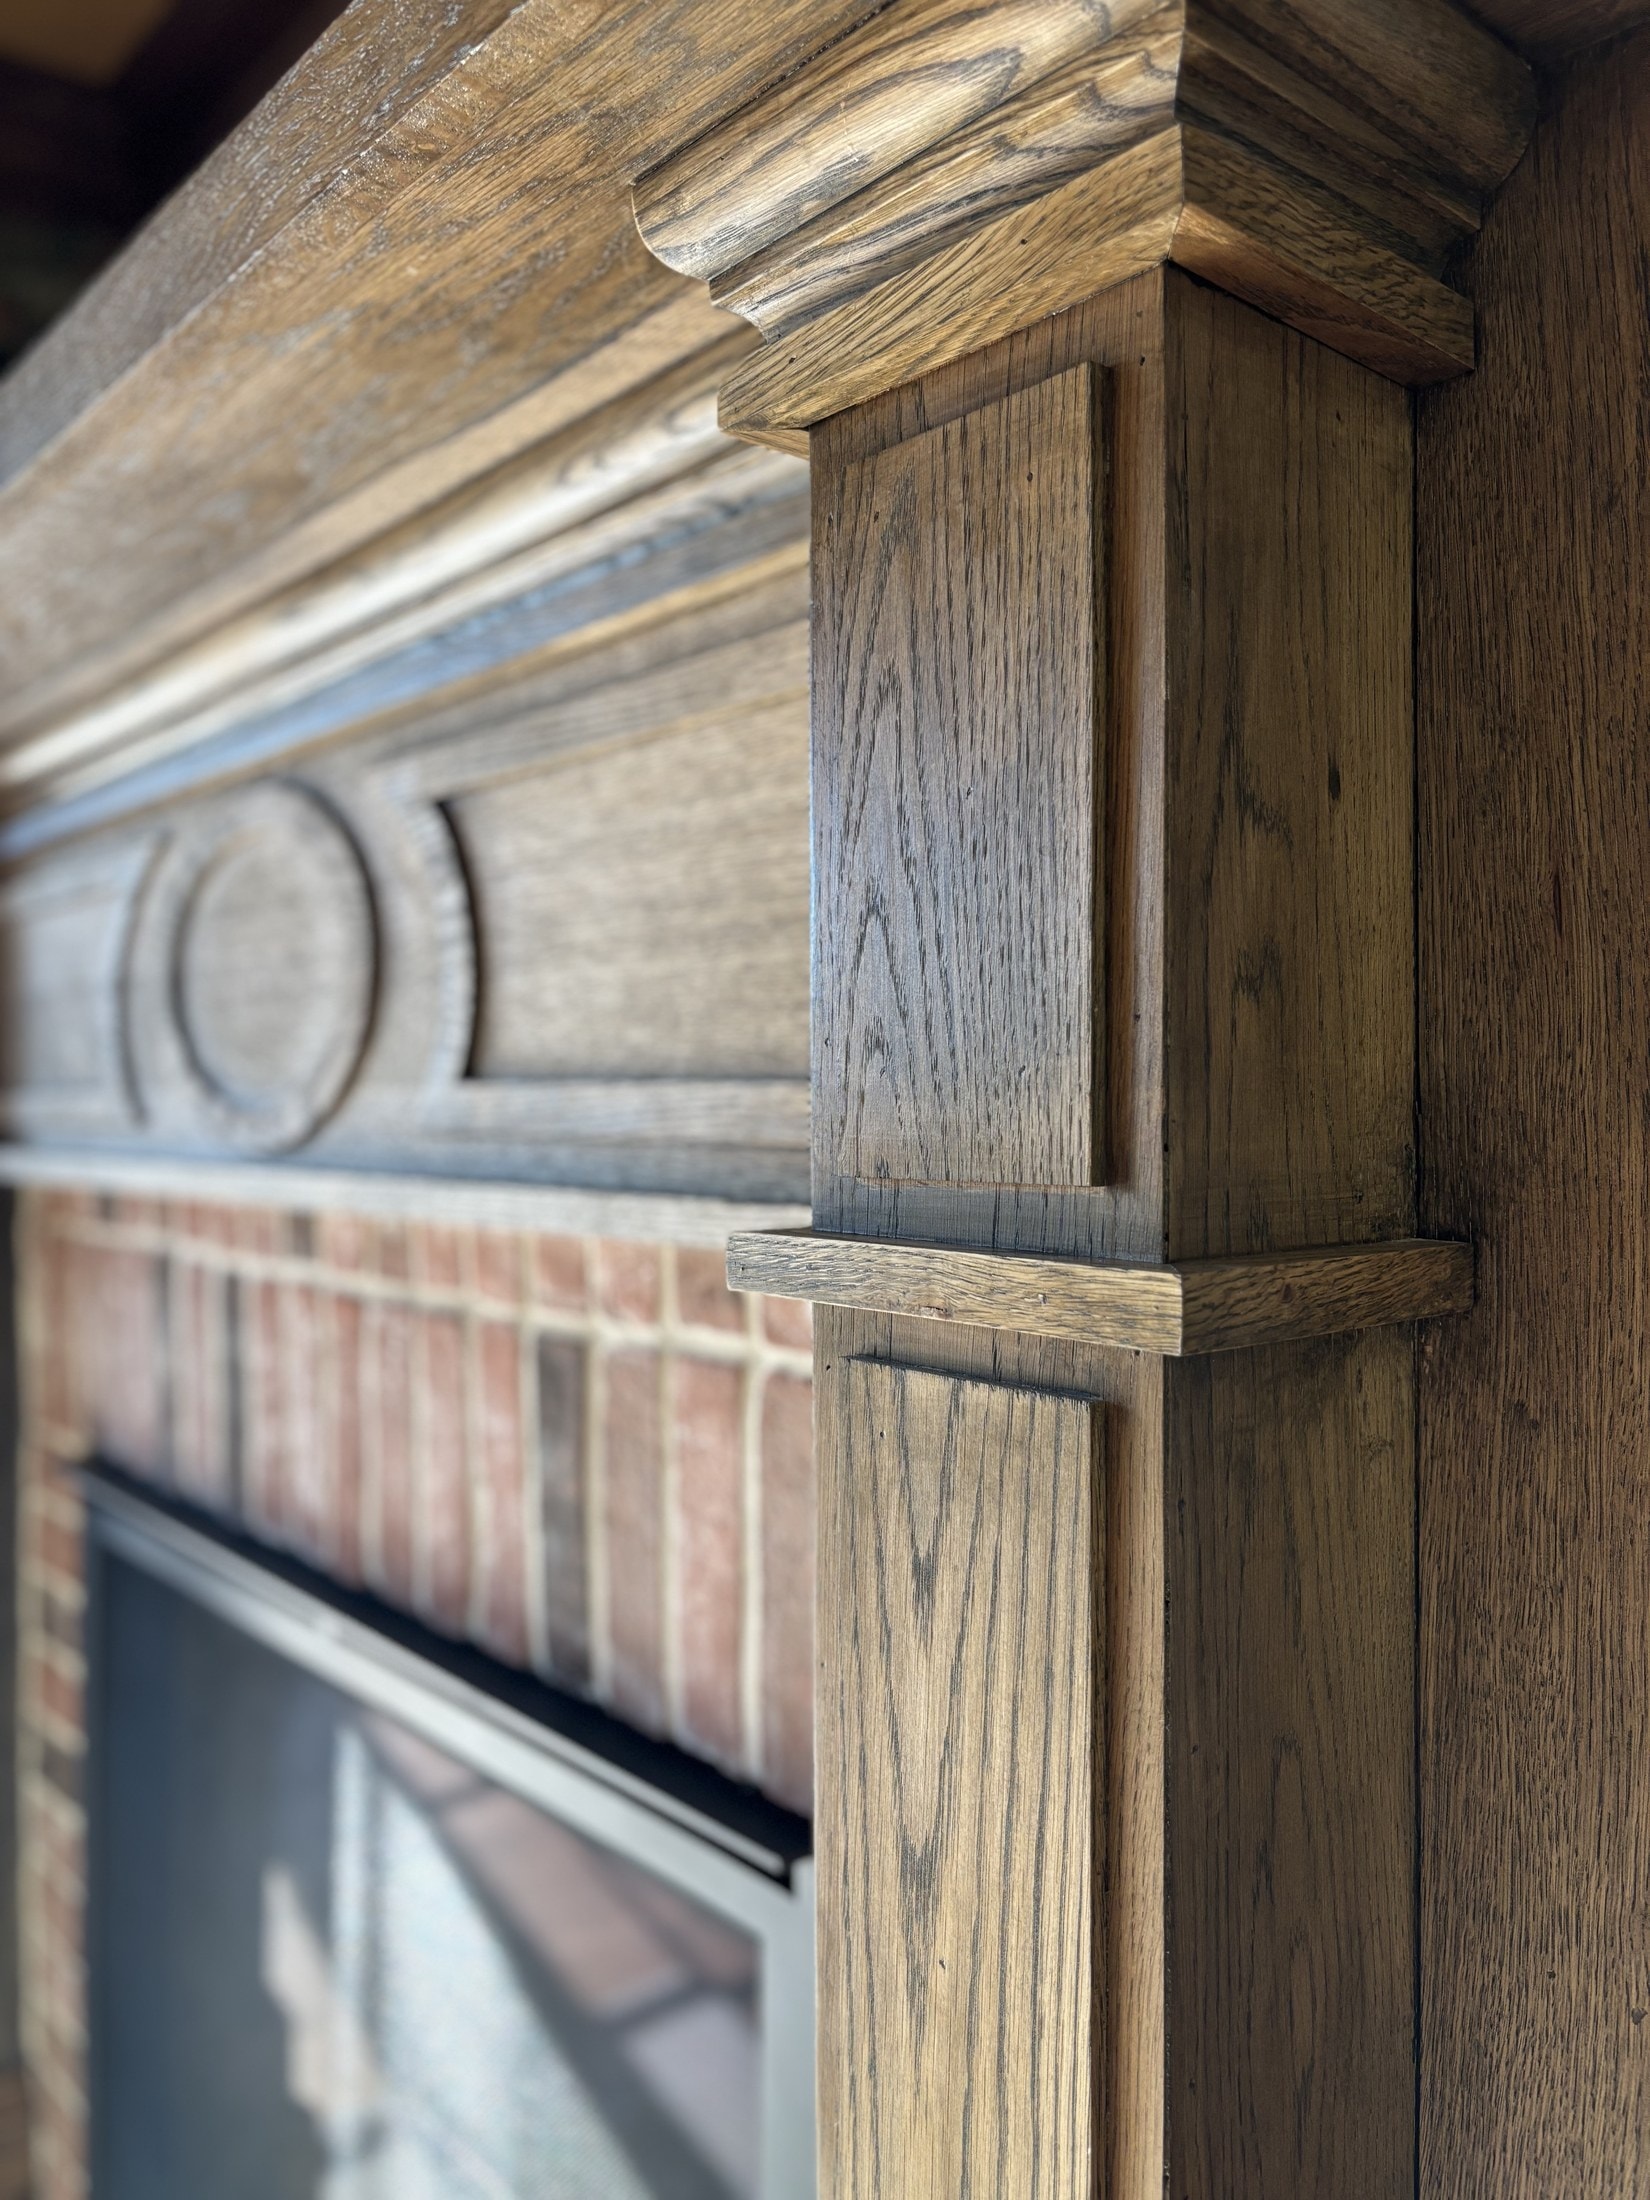
Trim work is judged by joints, gaps, and the way the wood meets adjacent surfaces. None of that shows in a phone photo taken from across the room. The carpenter's portfolio might look beautiful from 10 feet away and reveal sloppy execution at 12 inches.
This is why homeowners get burned. They look at someone's Instagram and see clean-looking baseboards, and they hire them. Then the work goes in and the gaps, misaligned profiles, and unaddressed scribe issues become visible — too late to do anything about it.
The signs below are visible if you know to look for them. Watch for them when interviewing carpenters and inspecting their finished work.
Sign #1: They cope inside corners — never miter them
An inside corner is where two pieces of baseboard, crown, or chair rail meet at an interior angle of the room. There are two ways to make this joint:
- Mitered: Both pieces cut at 45° and butted together. This is wrong for inside corners.
- Coped: One piece runs flush to the wall; the other is cut with a coping saw to follow the exact profile of the first piece. This is correct.
Why? Because as the house settles seasonally, mitered inside corners open up — you get a visible gap. Coped joints flex with the wood movement and stay tight.
Ask your carpenter directly: "How do you handle inside corners?" If the answer is "I miter them" or "It depends," they are not someone you want installing trim in your home.
Sign #2: They scribe baseboards to follow the floor
Almost no floor is perfectly level. Old houses are dramatic about this. Even new houses have minor variations.
A bad carpenter installs the baseboard at a consistent height and then runs caulk along the bottom to fill the gap where the floor dips. A great carpenter scribes the baseboard — they mark and cut the bottom edge of the baseboard so it follows the actual contour of the floor.
The result: no gap, no caulk line, just clean wood meeting clean floor.
Sign #3: They use the right nailer for the application
Finish carpentry uses three primary nailers:
- 15-gauge angled finish nailer — for heavy structural attachments: door jambs, large casing, hanging cabinets.
- 16-gauge straight finish nailer — for baseboards, casing, and general trim.
- 18-gauge brad nailer — for thinner stock, picture-frame moldings, and where holes need to be nearly invisible.
- 23-gauge pin nailer — for the smallest, most invisible attachments — securing returns, holding small pieces in place during glue setup.
If a carpenter uses a 16-gauge nailer for everything, the nail holes on small profile work look like bullet holes. The right tool for the right application is a sign of someone who actually cares about the visual result.
Sign #4: Joints get sanded before paint
After a joint is glued and nailed, there's almost always a tiny ridge where the two pieces meet — even on the best work. A good carpenter sands this flush with a sanding block before priming.
A bad carpenter relies on caulk to hide it. Caulk shrinks. Sanding doesn't.
Look at the painted joints in your finished trim work. Run your finger over them. If you feel a ridge or a depression, the carpenter relied on caulk instead of sanding.
Sign #5: Grain and profile alignment on outside miters
On any outside miter — where two pieces meet at a 90° external corner — the wood grain and the profile detail should align across the joint. A piece of crown molding with a beaded detail should have that bead continuing smoothly around the corner without offset.
This requires the carpenter to think about which pieces are mitered together before cutting. It takes about 30 extra seconds per joint. A carpenter who skips this step doesn't actually care how the work looks.
Sign #6: Saws are clean and blades are sharp
If you visit a job site mid-project, look at the saw. Is the table clean? Is sawdust cleared between cuts? Is the blade clean and sharp, or coated in pitch and chipped?
A dirty saw produces fuzzy, burned, or chipped cuts. Even a master carpenter can't make a clean joint with a dull or dirty blade.
The condition of the tools tells you everything about the standard of the work.
Sign #7: They have an answer when you ask "why"
Ask your carpenter: "Why did you choose that profile?" Or: "Why did you reverse the grain direction on this casing?" Or: "Why is the reveal on this jamb a quarter inch wider than the other one?"
A great carpenter has reasoned answers. They've thought about every choice. They can explain the proportions, the historical precedent, the visual effect, or the structural reason.
A weak carpenter says "that's how I always do it" or "I don't know, the boss told me to."
Bottom line
You don't need to become an expert to hire a great finish carpenter. You just need to know what to look for. The seven signs above are visible to anyone willing to look at the work closely and ask the right questions.
If you've already hired someone and are second-guessing the quality, the Consultation or Job Site Walk can give you an expert assessment before the job goes too far to fix.
About the Author
Nicholas Dunn is a finish carpenter and the founder of Dunn Trim Co., with the better part of a decade at the saw. He helps homeowners, designers, architects, contractors, and trim companies get finish carpentry right. More about Nicholas →