Coped Joints vs. Mitered Joints: When to Use Each
By Nicholas Dunn · March 19, 2026 · 4 min read
TL;DR
Inside corners get coped. Outside corners get mitered. There are no exceptions. Here's why — and how to execute both joints correctly.
The two joints, defined
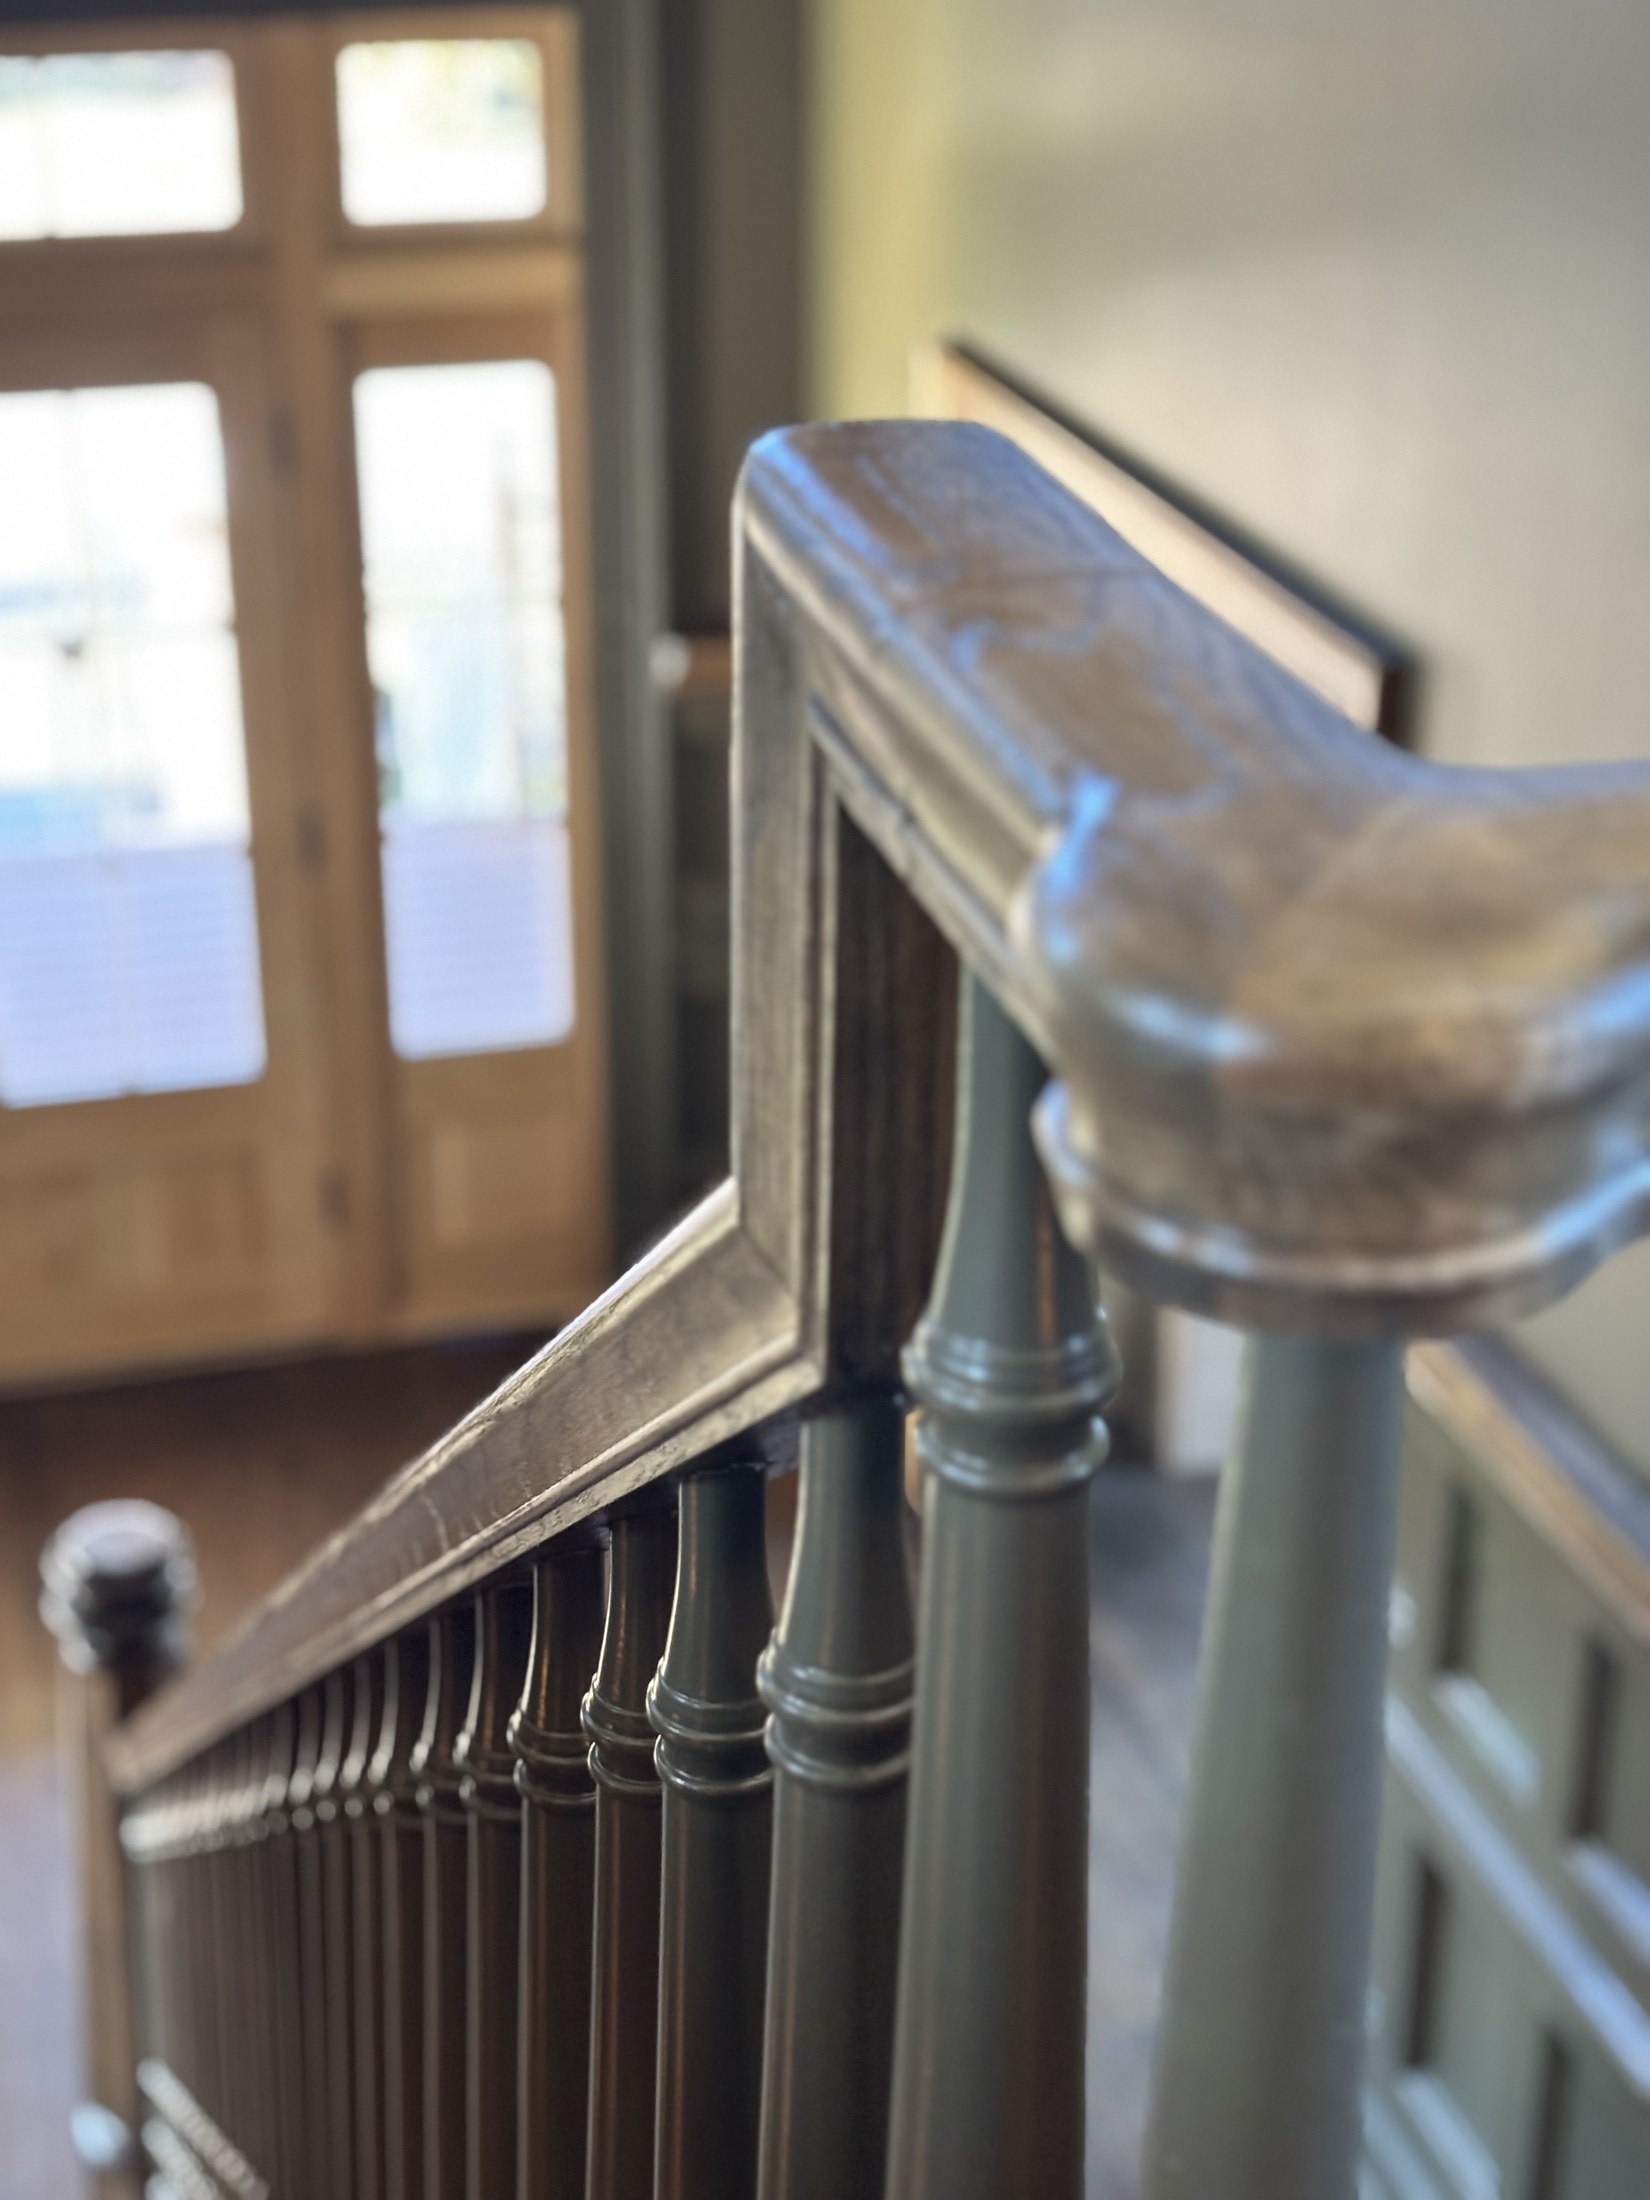
A mitered joint is two pieces of wood cut at angles (typically 45°) and butted together to form a corner. Both pieces meet on the visible face.
A coped joint is when one piece runs flush against the wall, and the second piece is cut to wrap around the first — its end profile shaped to fit precisely against the face of the first piece. Only one piece is mitered; the other is coped to it.
Both joints have legitimate uses. The question is when to use which.
Inside corners: cope, always
An inside corner is where two pieces of trim meet at an interior angle of the room — for example, where a baseboard runs along one wall and turns into the wall it meets at 90°.
The correct joint for an inside corner is a coped joint. The reason is structural.
Houses move. Studs shrink as they dry. Floor joists deflect. Foundations settle. Wood expands and contracts seasonally with humidity. A mitered inside corner, perfectly tight on installation day, will open up over the following 12 months — leaving a visible gap that nothing short of re-installation can fully fix.
A coped joint, by contrast, has one piece running long and the other piece wrapping over its face. As the corner moves, the coped piece can flex along the face of the back piece without showing a gap. The joint remains visually tight even as the framing moves around it.
Outside corners: miter
An outside corner is where two pieces of trim wrap around an external corner — for example, a baseboard running around the outside corner of a half-wall.
The correct joint is a mitered joint, with both pieces cut at 45° (or whatever angle is required for non-square corners).
Outside corners don't move the same way inside corners do. The framing on either side of an outside corner is rigid, supported, and stable. Wood movement across the joint is minimal. A well-cut, well-glued miter on an outside corner stays tight indefinitely.
The key word is "well-cut." A sloppy miter is a sloppy miter on any corner. An outside miter requires the saw to be calibrated, the angles to be exact, and the joint to be glued — not just nailed — for permanence.
How to cope correctly
The cope process, step by step:
- Cut the first piece square and install it tight to the inside corner.
- Cut the second piece on the miter saw at 45° — but instead of installing the mitered end, you'll use it as a guide to cope.
- Use a coping saw (or a coping foot on a jigsaw) to cut along the profile line revealed by the 45° miter, removing all material behind the visible face.
- Back-bevel the cut slightly so only the front edge of the cope contacts the face of the first piece.
- Test fit and adjust with a sharp utility knife or a file until the cope sits tight against the profile.
A skilled carpenter can cope a baseboard in 90 seconds. A learner might take 10 minutes. The skill comes from understanding which parts of the profile are critical and where to back-bevel for clearance.
Common mistakes
- Mitering inside corners "because the walls are square." The walls might be square. The house still moves. Cope anyway.
- Coping outside corners. There's no reason to cope an outside corner. Miter it.
- Coping but not back-beveling. Without a back-bevel, even tiny variations in the first piece's face prevent the cope from sitting tight. Always back-bevel.
- Coping with a circular saw or chop saw. A cope requires a coping saw or jigsaw. There is no shortcut.
What about chair rail, picture rail, and crown?
Same rules apply: inside corners cope, outside corners miter. Crown molding is especially unforgiving — a mitered inside corner on crown will telegraph a gap within months. Always cope inside corners on crown.
Bottom line
This is one of the few areas in finish carpentry where the rule is absolute: cope inside, miter outside. The carpenters who follow this rule produce trim work that looks tight five years after installation. The carpenters who don't are leaving callbacks for themselves and gaps for the homeowner.
If you're a homeowner inspecting work that's already been installed, look at every inside corner. If you see a faint line down the center of the joint, that's a mitered inside corner that's already starting to open up. It's a sign of inexperienced or rushed work. A Job Site Walk can identify these issues before the painters cover them up.
About the Author
Nicholas Dunn is a finish carpenter and the founder of Dunn Trim Co., with the better part of a decade at the saw. He helps homeowners, designers, architects, contractors, and trim companies get finish carpentry right. More about Nicholas →